| « And Bible Gestures | And Bible: Easy on the Eyes » |
And Bible 4.0 Bookmarks
When you first install version 4.0 of And Bible, bookmarks will be about the first thing you notice. For one, it comes installed with a few bookmarks already added. Secondly, once you tap on a verse, the option to add a bookmark pops up on the screen. So that's where we should start, but first a few things about the terminology.
A bookmark in And Bible doesn't really bookmark your place in the text, as a physical bookmark would. It might be better described as a label assigned to a verse. The best indicator of this bookmark is the highlighting or underlining of the text. So, let's make a bookmark and see what else you can do with it.
The Basic Bookmark
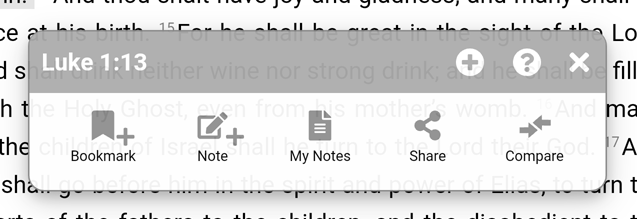
Select a verse in the Bible window like Luke 1:13. Tap on the verse and notice that a popup window is shown with several options.
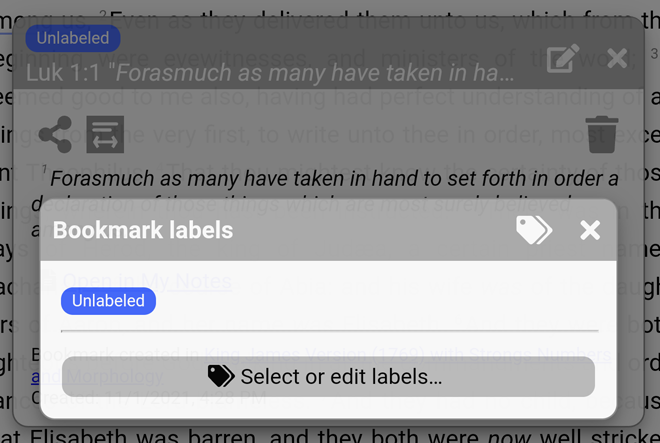
For a simple bookmark, tap on the first icon. When you do the bookmark is created and displayed in the background. The foreground dialog box now gives you an opportunity to edit the label assigned to this bookmark or select a new one.
Tap on Select or edit labels and check the box next to Blue. This changes t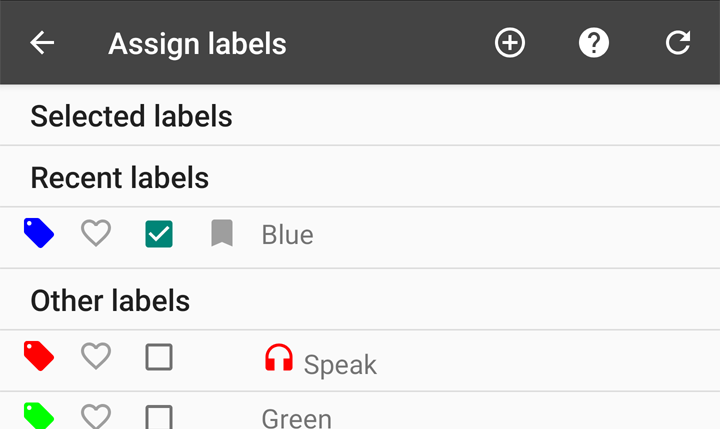 he selected label and assigns the new label's color. When you close both dialog boxes you now see is that verse highlighted in blue, the color of the label.
Naming Bookmarks
Many years ago I used to color code my bible with highlighter based on topics or word studies. Bibles have also been published that color code different concepts in this way. That's one thing you can use bookmarks for. But the label Blue doesn't really mean anything, so let's change that.
In the top right options menu (three vertical dots), select label settings. Click on Blue and change the text at the top from Blue to John the Baptist. Go back to the passage and tap on the verse and notice the label change.
Multiple Verse Bookmarks
Now go to verse 57 and tap on that verse. Only this time press the (+) button and notice that the next verse is also selected. Then tap on verses 59 and 60 so that all four verses are now shown with a gray background. Now select the bookmark icon. This time you can select the John the Baptist button. When you close the dialog boxes you will see all of the verses highlighted in the label's color.
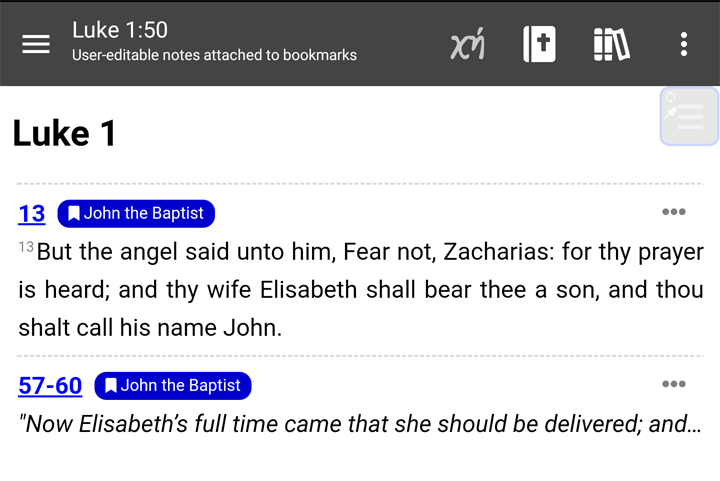
To see what you have marked in this chapter you can select the commentary icon at the top and select My Notes and see the verses you have bookmarked/labeled in this chapter. Only the first line of the passage is shown, but if you tap on it the passage will expand to show the rest of the verse.
Adding Notes to Bookmarks
Now skip over to Luke 3:1 and select the first two verses, but instead of tapping the bookmark icon select the Note icon. Tap on the label and select the John the Baptist label and then enter some text like "This is when John the Baptist first starting preaching".
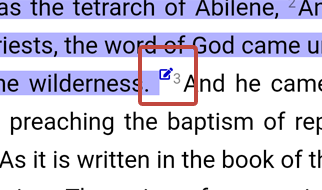
At this point you should notice that there is a note icon at the end of the passage just marked there. Click that and you will see the text you just added.
Notice that the note screen has a number of formatting options which will not be discussed here. Most are intuitive. The last option with the cross is a hyperlink button. Use that to enter a verse reference that will open the verse when clicked.
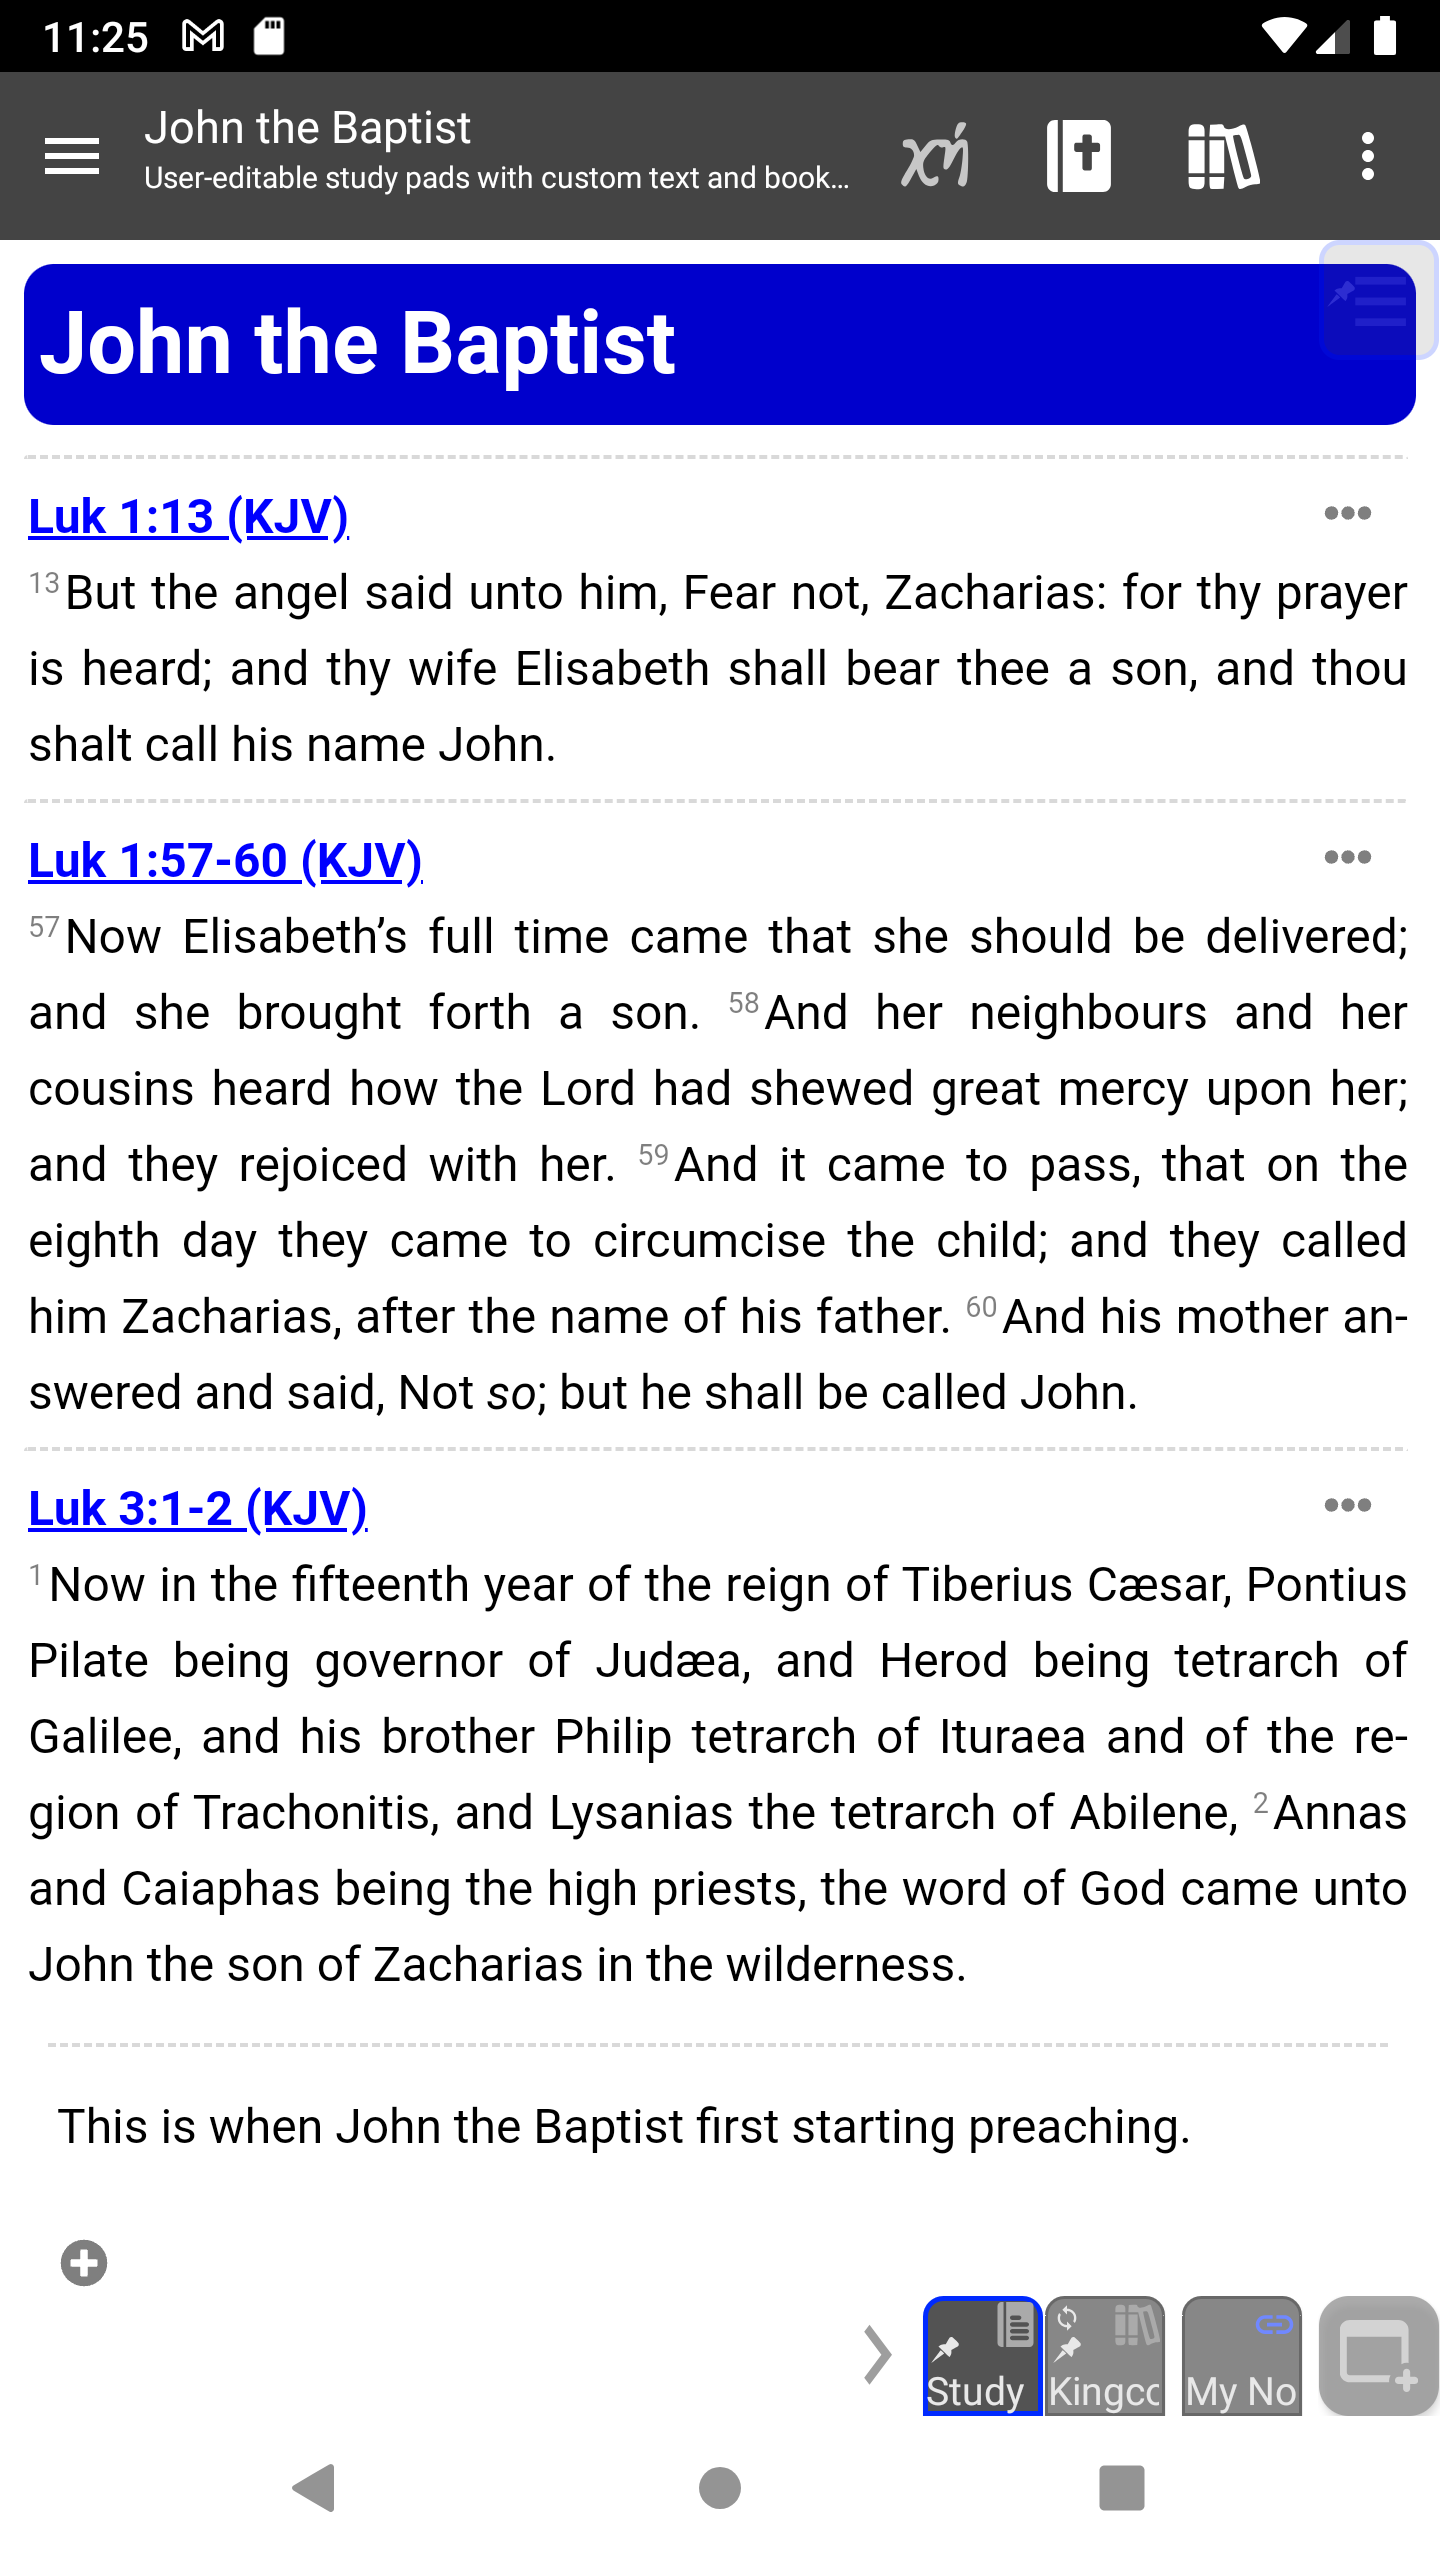
You can see the verses with My Notes for this chapter also. If you want to see all verses labeled as John the Baptist you can go to the main menu and select Study Pads and the label John the Baptist. Each label is associated with a Study Pad which provides additional features but that will need to be discussed later as well.
Bookmark Options
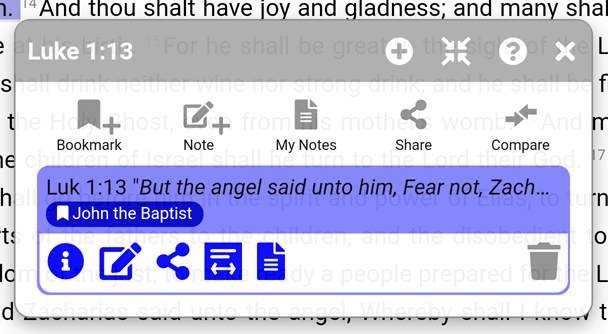
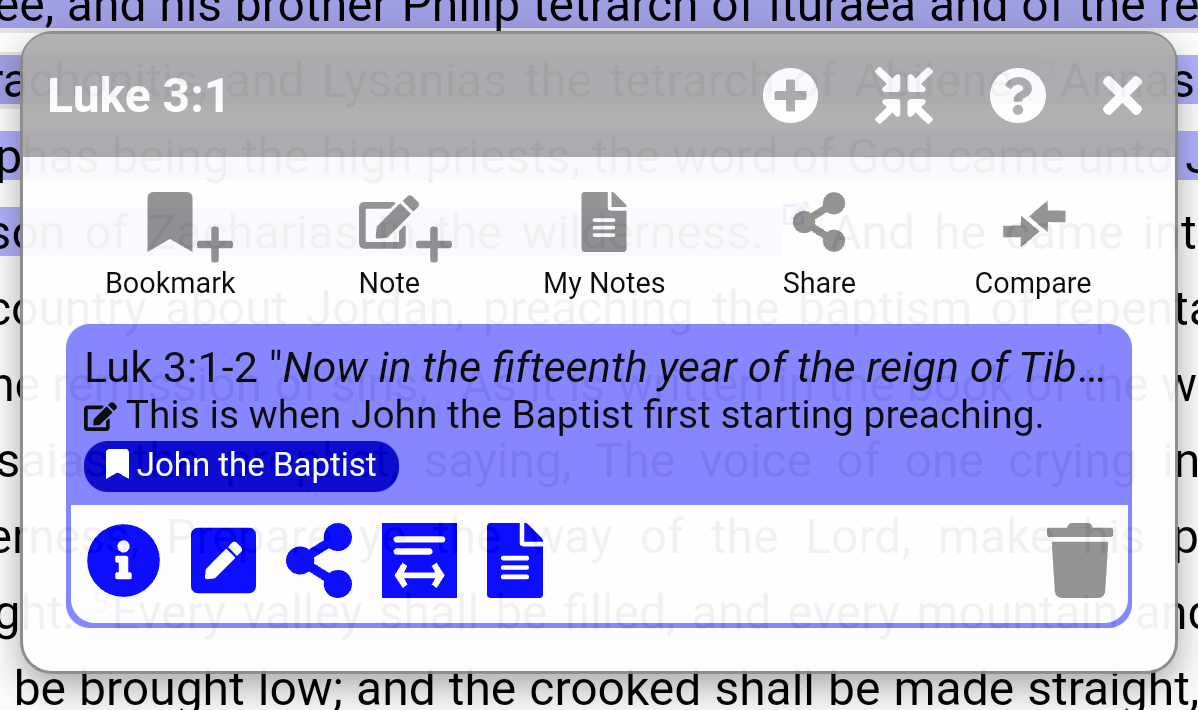
Now that you have the basics, go back and click one of the bookmarks. There are several options available from the dialog.
Beginning in the top row.
![]() While you use this icon initially to create the first bookmark you can click it again and add another bookmark using a different label. Each one will be displayed with its designated color.
While you use this icon initially to create the first bookmark you can click it again and add another bookmark using a different label. Each one will be displayed with its designated color.
![]() Just as you've added the first note, you can add notes to new bookmarks. The notes will be displayed with the associated bookmark.
Just as you've added the first note, you can add notes to new bookmarks. The notes will be displayed with the associated bookmark.
![]() The My Notes icon is another way to display the My Notes window with your bookmarks and notes for the chapter.
The My Notes icon is another way to display the My Notes window with your bookmarks and notes for the chapter.
![]() The share button enables options to share the verse. The share options may vary depending on your device and apps installed. This can also be used to Copy the text to the clipboard
The share button enables options to share the verse. The share options may vary depending on your device and apps installed. This can also be used to Copy the text to the clipboard
The verse and label is displayed in the middle section and it has its own options.
![]() The information icon shows the bookmarked verse(s), displays options to edit, share, delete, or Open in My Notes, and gives details about when the bookmark was created and updated.
The information icon shows the bookmarked verse(s), displays options to edit, share, delete, or Open in My Notes, and gives details about when the bookmark was created and updated.
![]() The expand button contracts or expands the dialog box if there are other bookmarks associated with the verse.
The expand button contracts or expands the dialog box if there are other bookmarks associated with the verse.
Title Bar
In the title bar there are other options. You may remember the gray circled + is how you expanded the selection. The four arrow icon next to it will expand or condense the display. The ? provides help, and a link to a short tutorial about bookmarking. Close the bookmark with the gray X.
