| « And Bible: Easy on the Eyes | And Bible Commentary Study » |
And Bible: First Look
And Bible has been around for some time. Before recently, it was known simply as And Bible, but with the latest major release it is identified on Android devices as Bible Study App. While it was easy to use, it had a lot of hidden options that made it a powerful resource for Bible Study. With the latest version (4.0) And Bible has added even more useful features, and they are not so hidden. For the new user it may be challenging to get familiar with it. Hopefully this quick start will help.
First Look
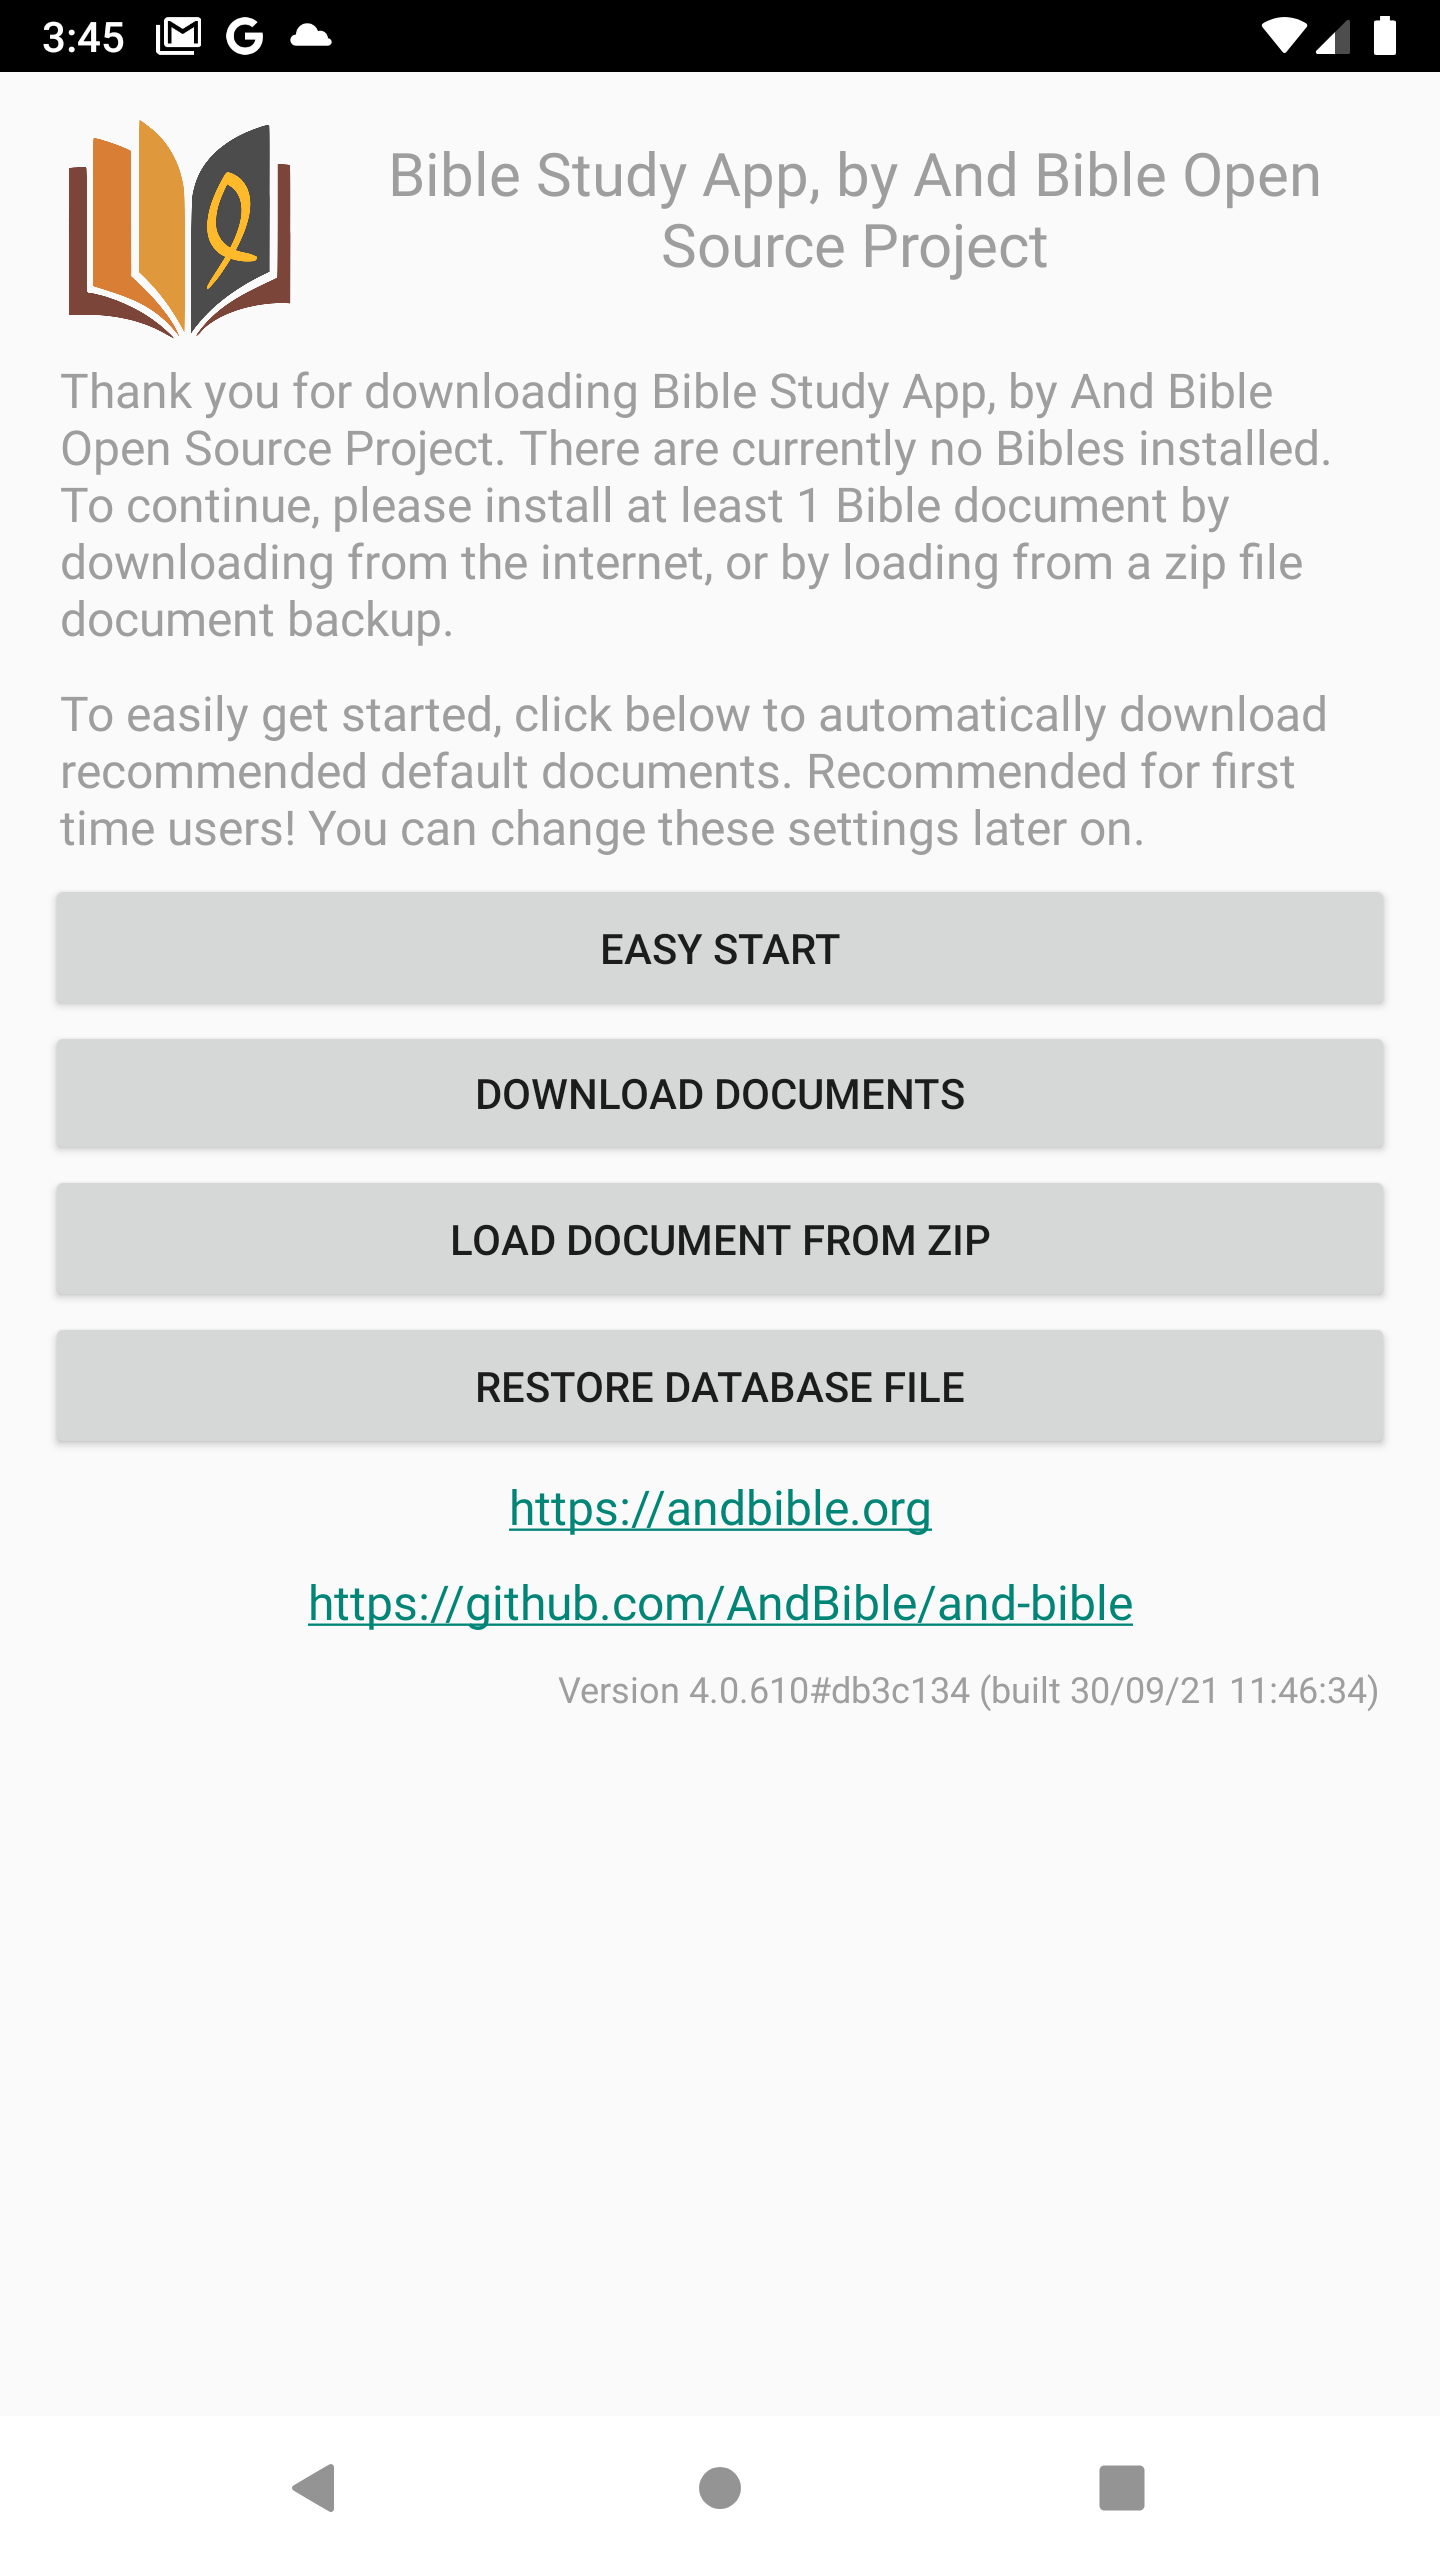
When you first install And Bible you are prompted to download documents to use with it. If you have already installed it and started it, you won't see this again. If you really want to see it you can uninstall and then install again. This is the first use view of And Bible.
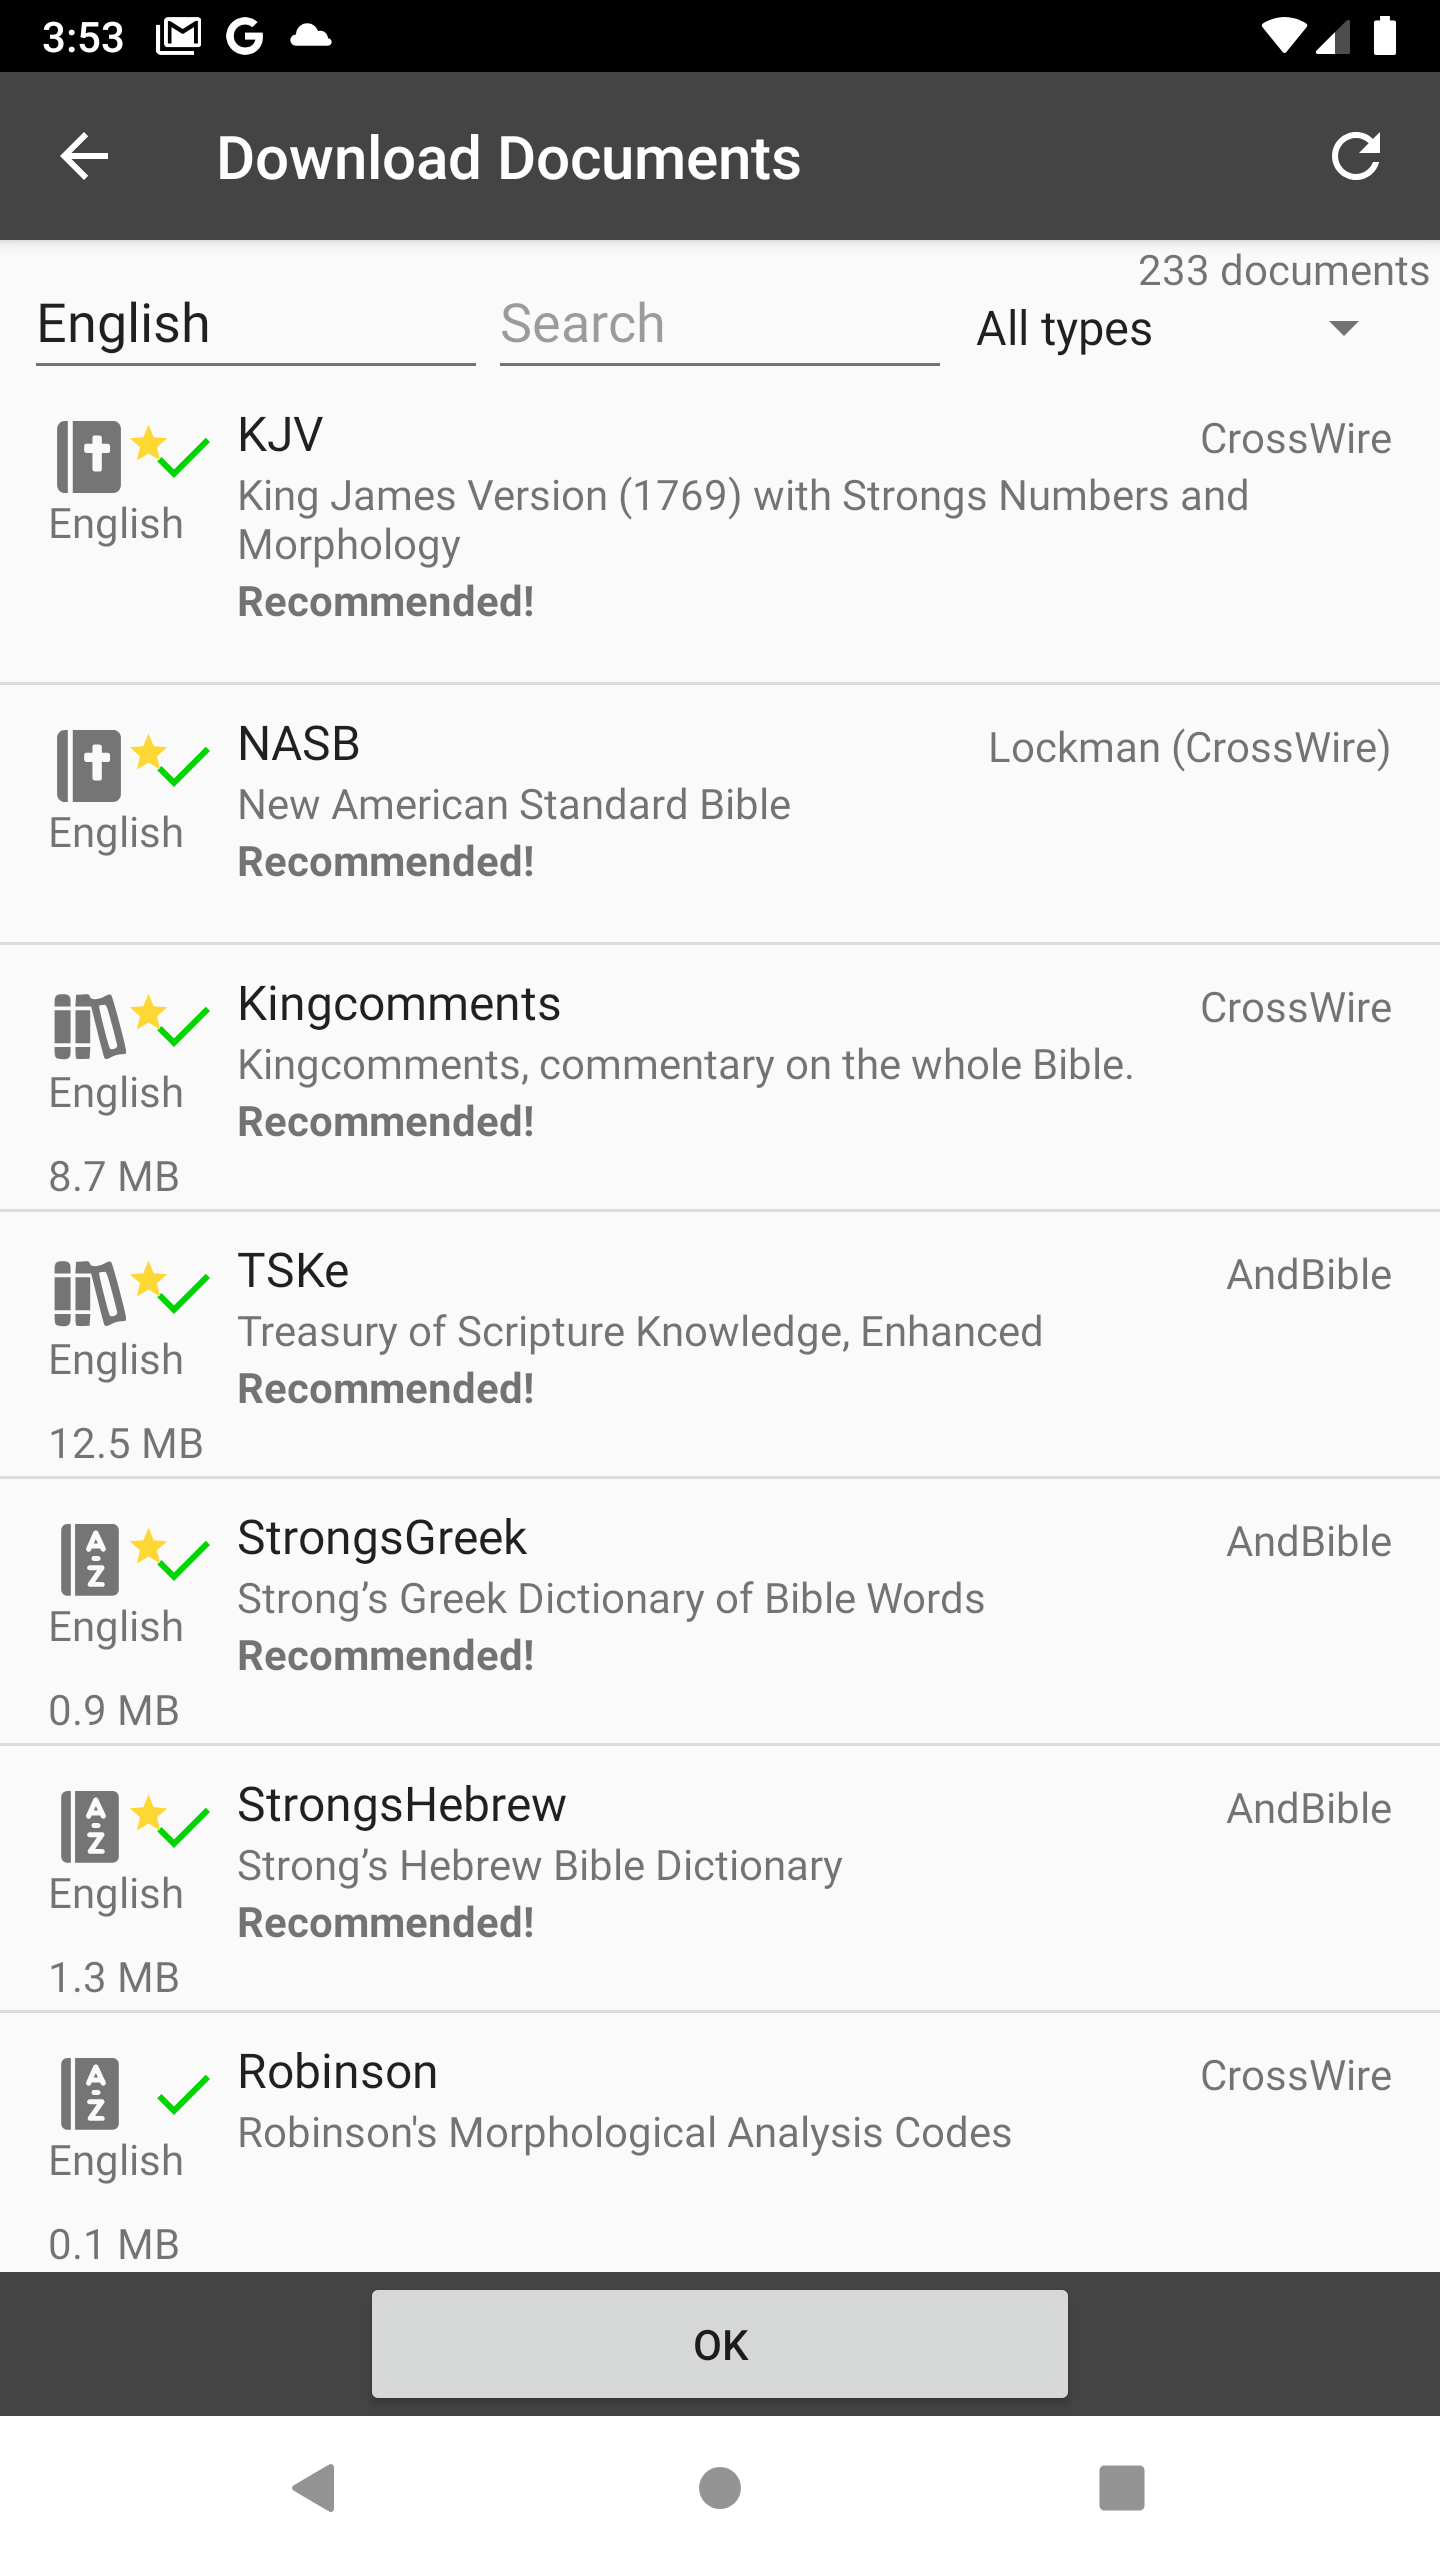
If you are concerned about available phone space you can select Download Documents and select a single Bible resource. Otherwise select Easy Start to download a recommended set of documents. You can always go back to the menu and download other documents. The documents include Bibles, commentaries, dictionaries, maps, and other documents. This screenshot shows the list of documents installed into And Bible.
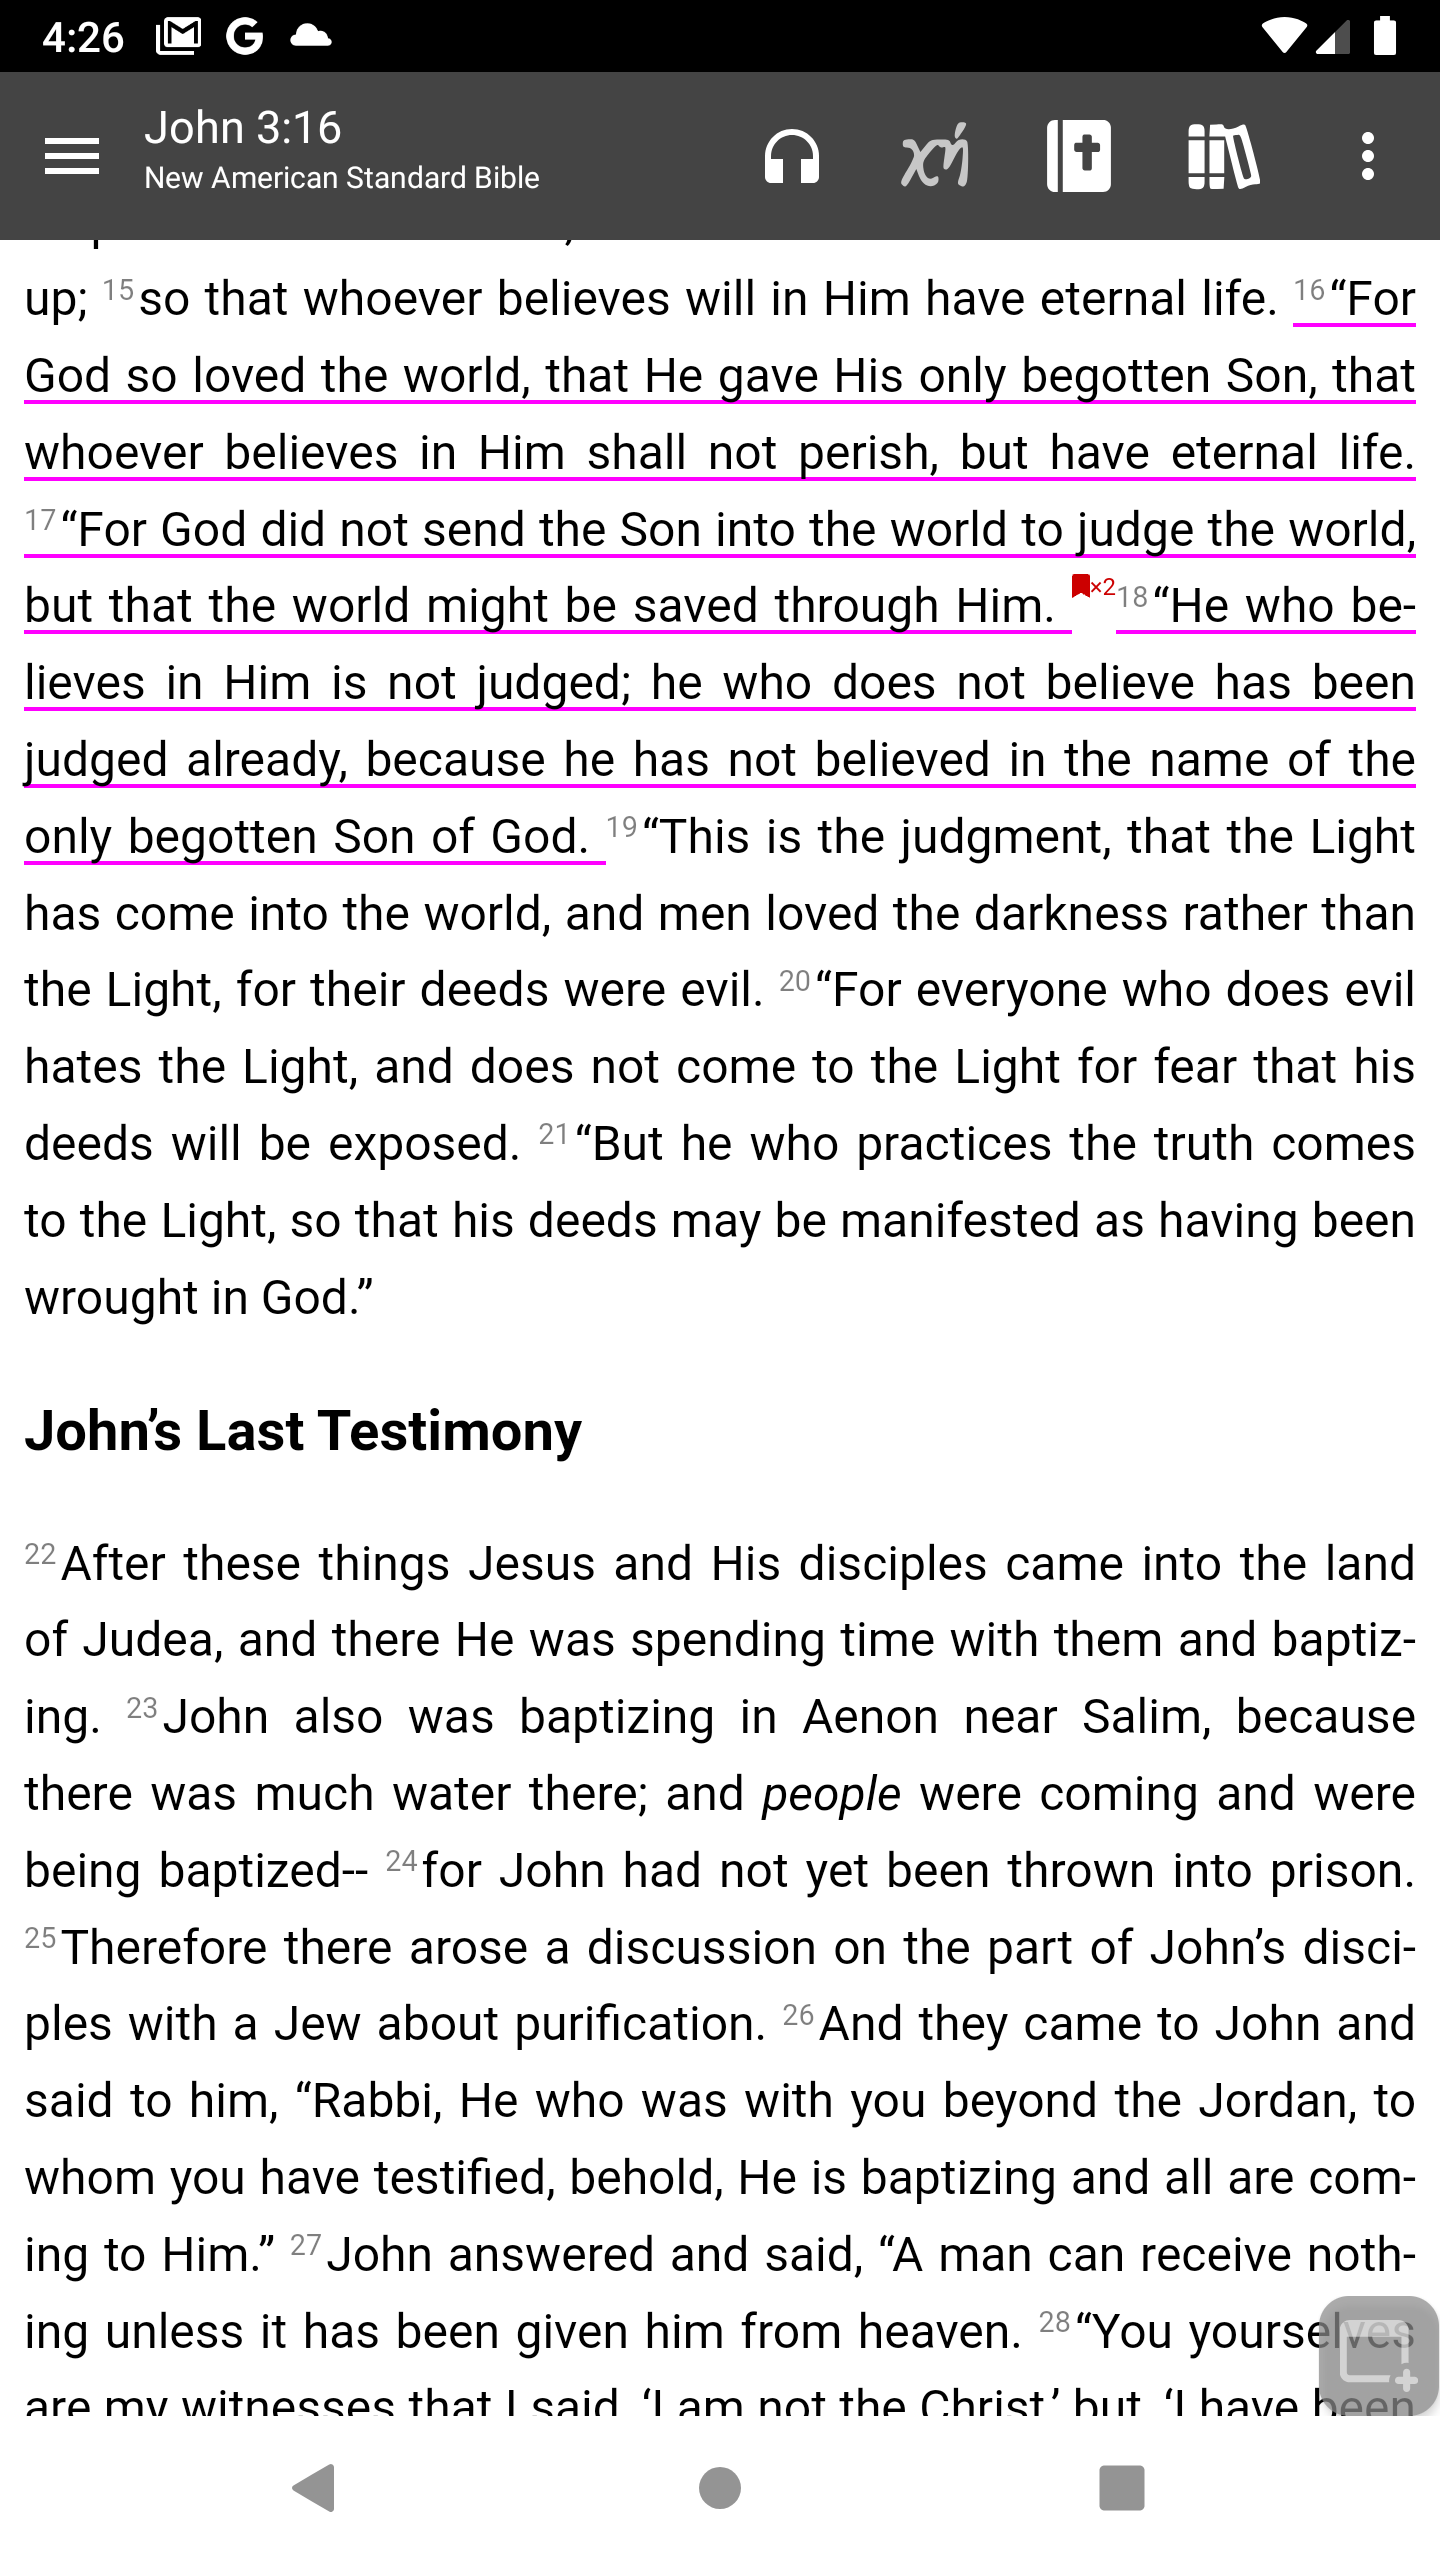
Pressing the back key you may see a dialog about the latest features. For now press Dismiss and you will see the Bible displayed starting at John 3:16.
Note: If you have been using this app before, there may already be things on your screen. You can create a new workspace to use with this tutorial by using the options menu (three dots), Workspaces, (+) for new workspace, name it and then follow along. To get back to your original workspace, select it from the Workspaces menu.
Using your fingers
As you are probably aware, navigating a cell phone apps depends on how you use your fingers. To avoid unpleasant surprises, learning what happens when and how you touch or swipe is important. Many of these gestures are intuitive. The rest need to be made intuitive to get the most from this app.
With John 3:16 displayed here you can scroll throughout the selected book of the Bible. These are gestures that you can use if you are reading a version of the Bible. Some of these gestures will not work on other document types. We'll look at the options in dialog boxes later.
- Press on the screen and then move up or down to scroll through the book.
- Swipe left or right to navigate through chapters of the book.
- Swipe from the left margin to show the application menu (three lines).
- Swipe left to hide application menu.
- Touch or tap to select a document/window.
- Touch or tap in a selected window for bookmarks, notes. A dialog box will be shown to allow you to select a function. Press the X to close the dialog.
- Touch or tap on a superscript within the text for footnotes or x-refs (covered later).
- Double tap to switch between standard and full screen. In full screen the taskbar, the document icons, the Android status bar, and the software navigation buttons are all hidden.
- Press and hold to select text. When you do, the text markers will be shown and a dialog box will ask what you want to do with the selected text. Here you can drag the markers to select more or less of the text before interacting with the dialog box. Press somewhere else to cancel.
- With multiple windows shown, press and hold the separating bar to resize the windows.
- When multiple documents are loaded there are document icons at the bottom right of the screen. Tapping will select that document/window. Tapping again may minimize it.
- Finally, tap on any of the options at the top of the screen.
- You can also long press on icons at the top for more selections or related settings.
Screen Survey
So now look at the rest of the screen. The top left has the three line (sandwich) menu. Next to that is the verse selection dialog. The headphone icon next to it will enable the device to read the text to you. The next icon with the Greek letters enables the display of links to Greek and Hebrew words.
The Bible icon allows you to select an alternate Bible version. When it is first installed it may only have two versions and if a Bible is displayed pressing the icon switches between them.
The icon with the books is where you select a commentary to display.
Finally the three dots at the top right is where you select options and change some of the settings for the app.
Do the following as an exercise to get accustomed to the icons.
- Select the Bible icon at the top to display another Bible version.
- Select the commentary icon at the top to display Compare translations.
- Select the commentary icon to display the Kingcomments commentary.
- Select the Bible icon to display the NASB Bible.
Windows
You notice the window changes each time. Of course you won't want to continually switch back and forth. You may want a separate window for commentaries or other documents.
At the bottom right corner of the screen is the primary new window button. Press that and notice that the screen is divided into two windows and the selected document is displayed in both windows. Only one of the windows is active at a time and the icon for that window will be highlighted to indicate that. Now with the bottom window selected, select a commentary. The commentary for that verse or section will then be showing in the bottom window.
By default, windows are usually synchronized, so as you scroll through the text the commentary follows. Also, note that when two or more windows are displayed there are associated icons at the bottom right of the screen, each representing a window and document. Later you will see how the icons can be used to rotate between different documents (versions, commentaries) in the same window. In that case the icons will be grouped together, but before we get into that let's look at some special windows.
Footnotes and cross references
With two windows on screen you should also notice the faint icon to the top right of the window. That is the options menu for that window. Select that, then select All text options, and next to Footnotes and x-refs, click to enable and go back. Depending on the Bible version selected you may now see number or capital letter superscripts within the text. These are links to footnotes and cross references for the version.
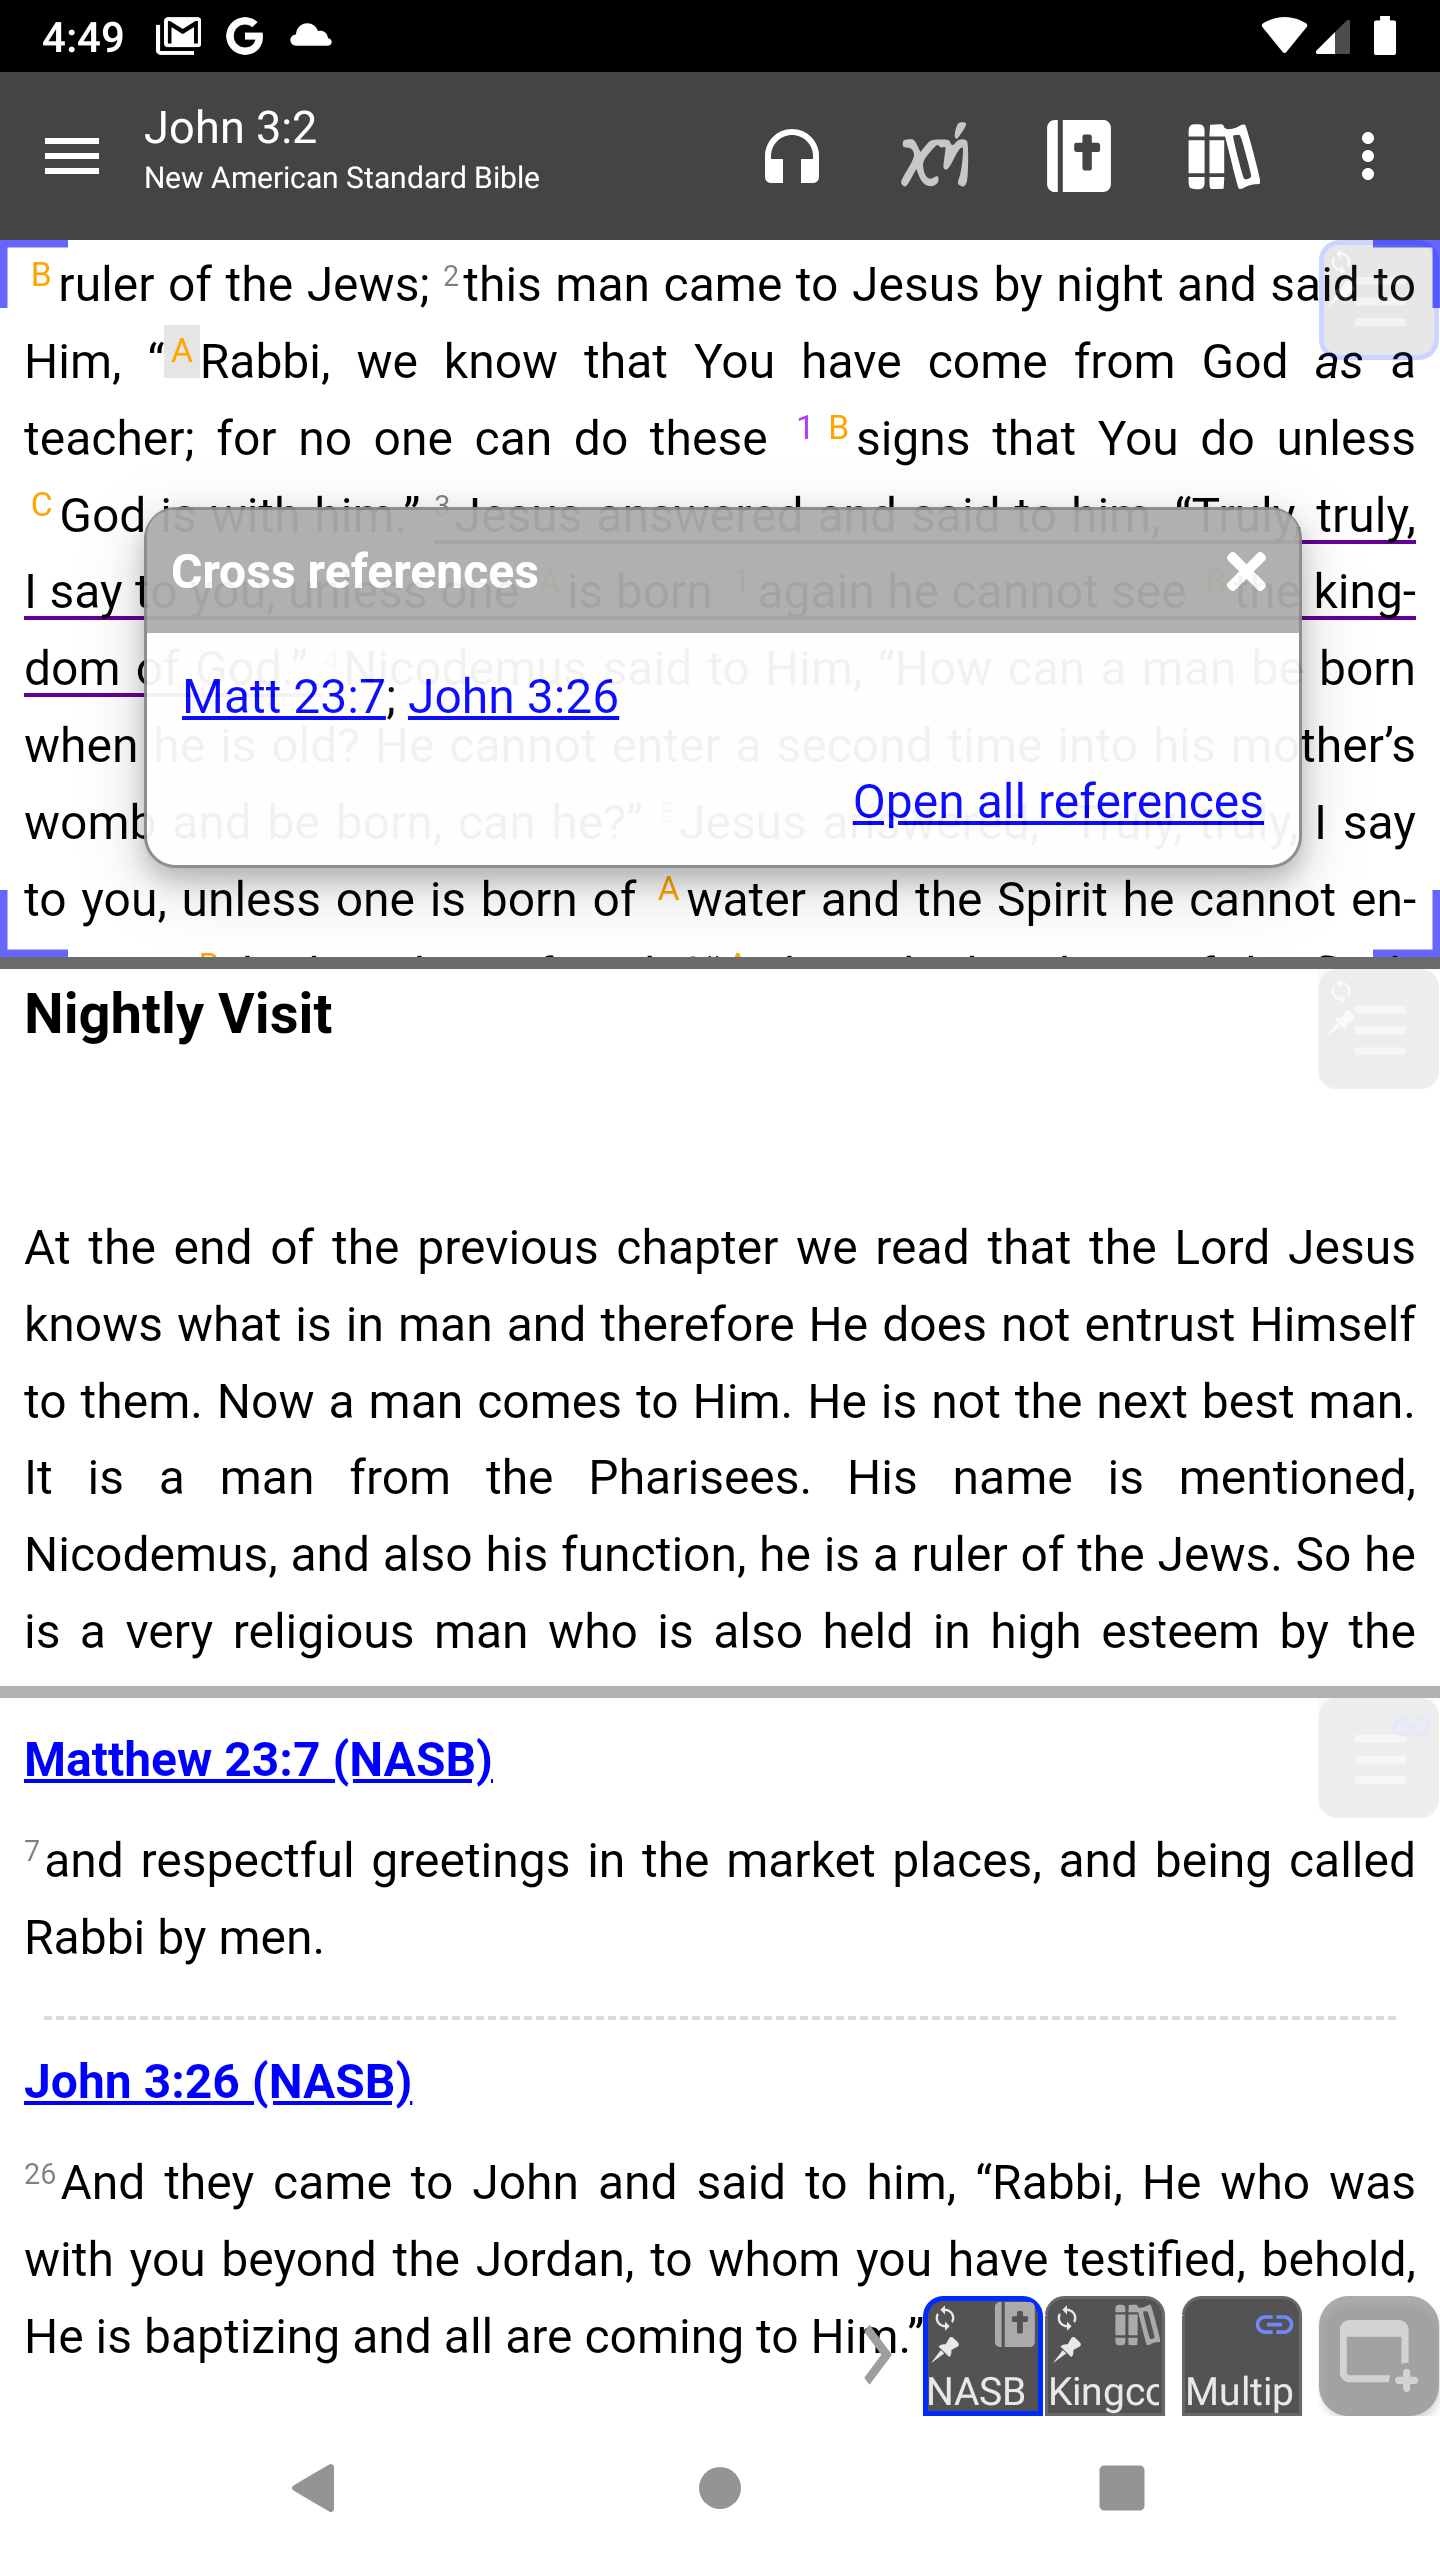
When you tap on one of these letters a dialog box is displayed with additional information.
Footnotes explain something about the text while cross references shows related passages. If you tap on a verse shown in the dialog box, the verse(s) will be shown in a separate window. That window has an associated icon as well. Each time you select a different cross reference that window is updated.
- Scroll up to John 3:2
- Tap on the capital A next to Rabbi.
- Then tap on Open all references
- Tap on the X in the cross reference dialog and hide the reference window by tapping on its icon.
The cross reference window can also be activated with verses displayed in commentaries. In fact, the commentary TSK is all cross references.
Commentary referrals
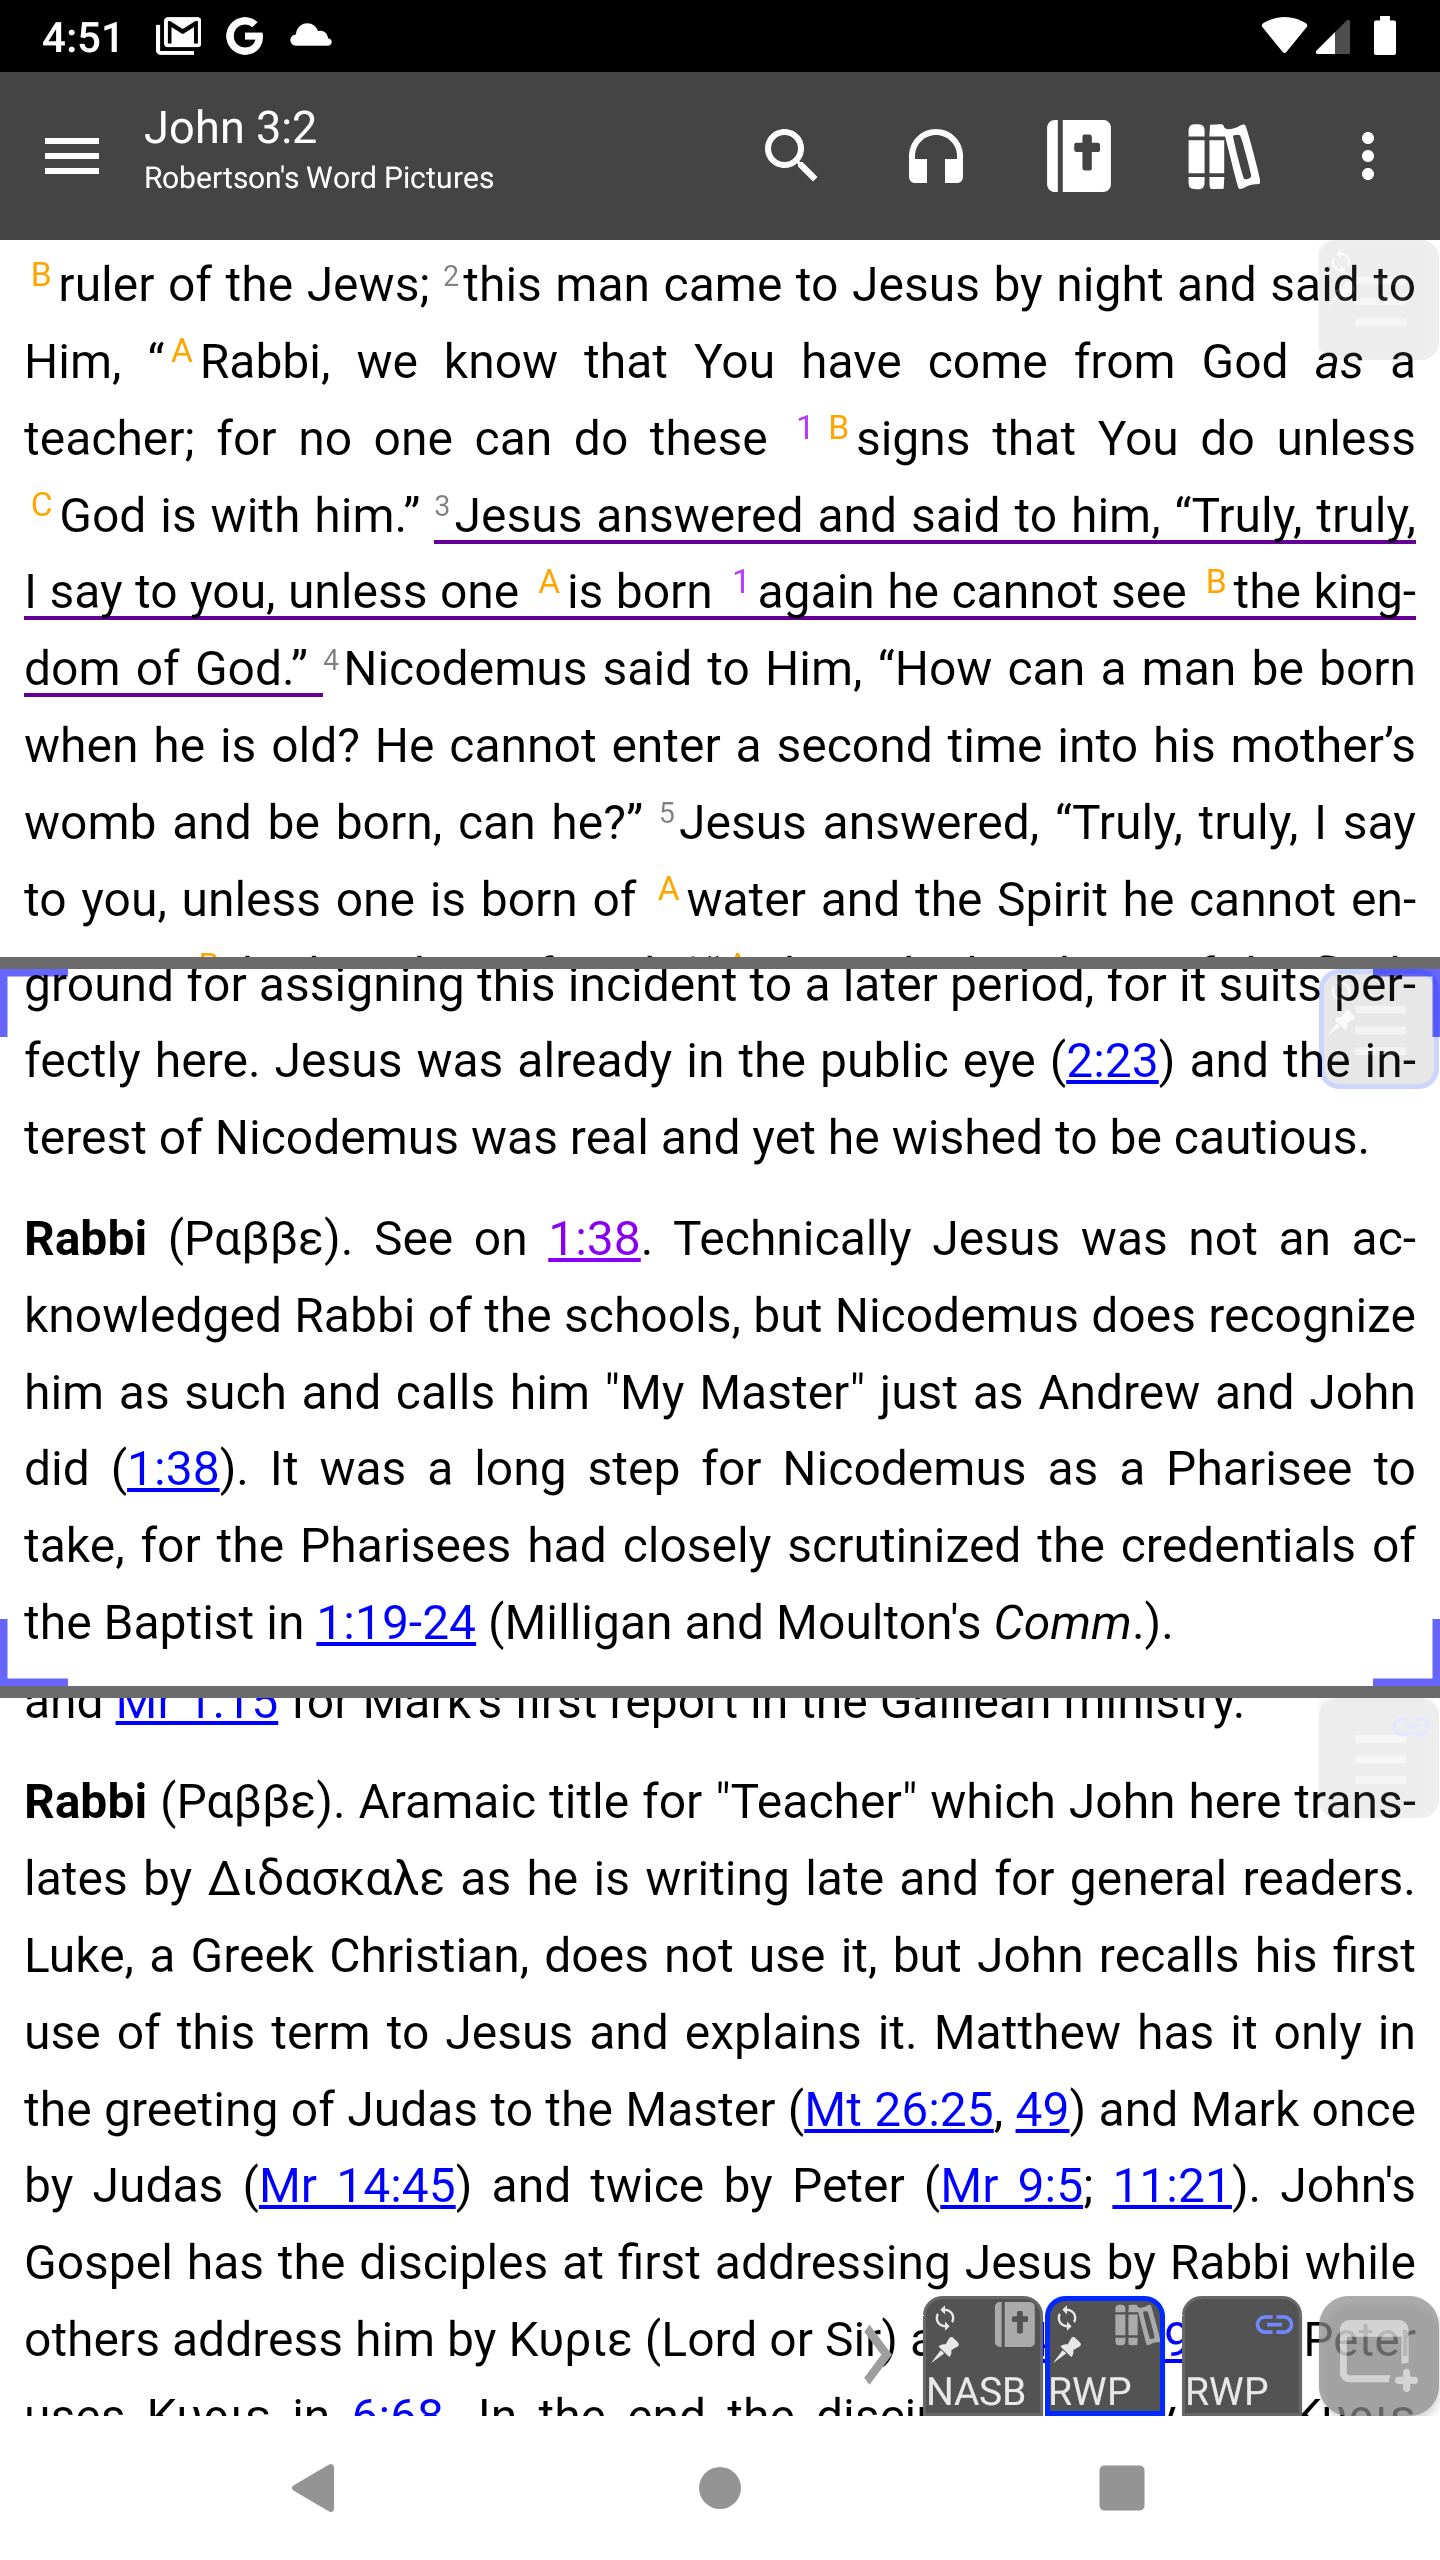
While commentaries often provide cross references, occasionally their references are meant to show its comments on a particular topic. RWP (Robertson's Word Pictures) uses this occasionally by writing "See on x.xx". In order for that to work as intended you will need to take another step.
To see this you need to first download and select the RWP commentary. Then go to John 3:2. RWP writes in the third paragraph on the term Rabbi, See on 1:38. There you would tap on the reference and see the verse. To see what the commentary says about that verse, select the RWP commentary for that window. Scroll down and see what RWP says about the term Rabbi.
Managing Windows
Before we go any further, you should learn how to manage windows. Each window has a window menu in a faint icon at the top right of the window. This is how to set options for the window only. The Pin option can be confusing. In this app, the pin indicates that the window will stay open when you open a new window. The new window will open next to it. You can show or minimize either one by tapping on its icon.
If you uncheck the Pin for a window that document will be minimized when you create a new window. Several documents can be displayed by that window, but only one at a time.
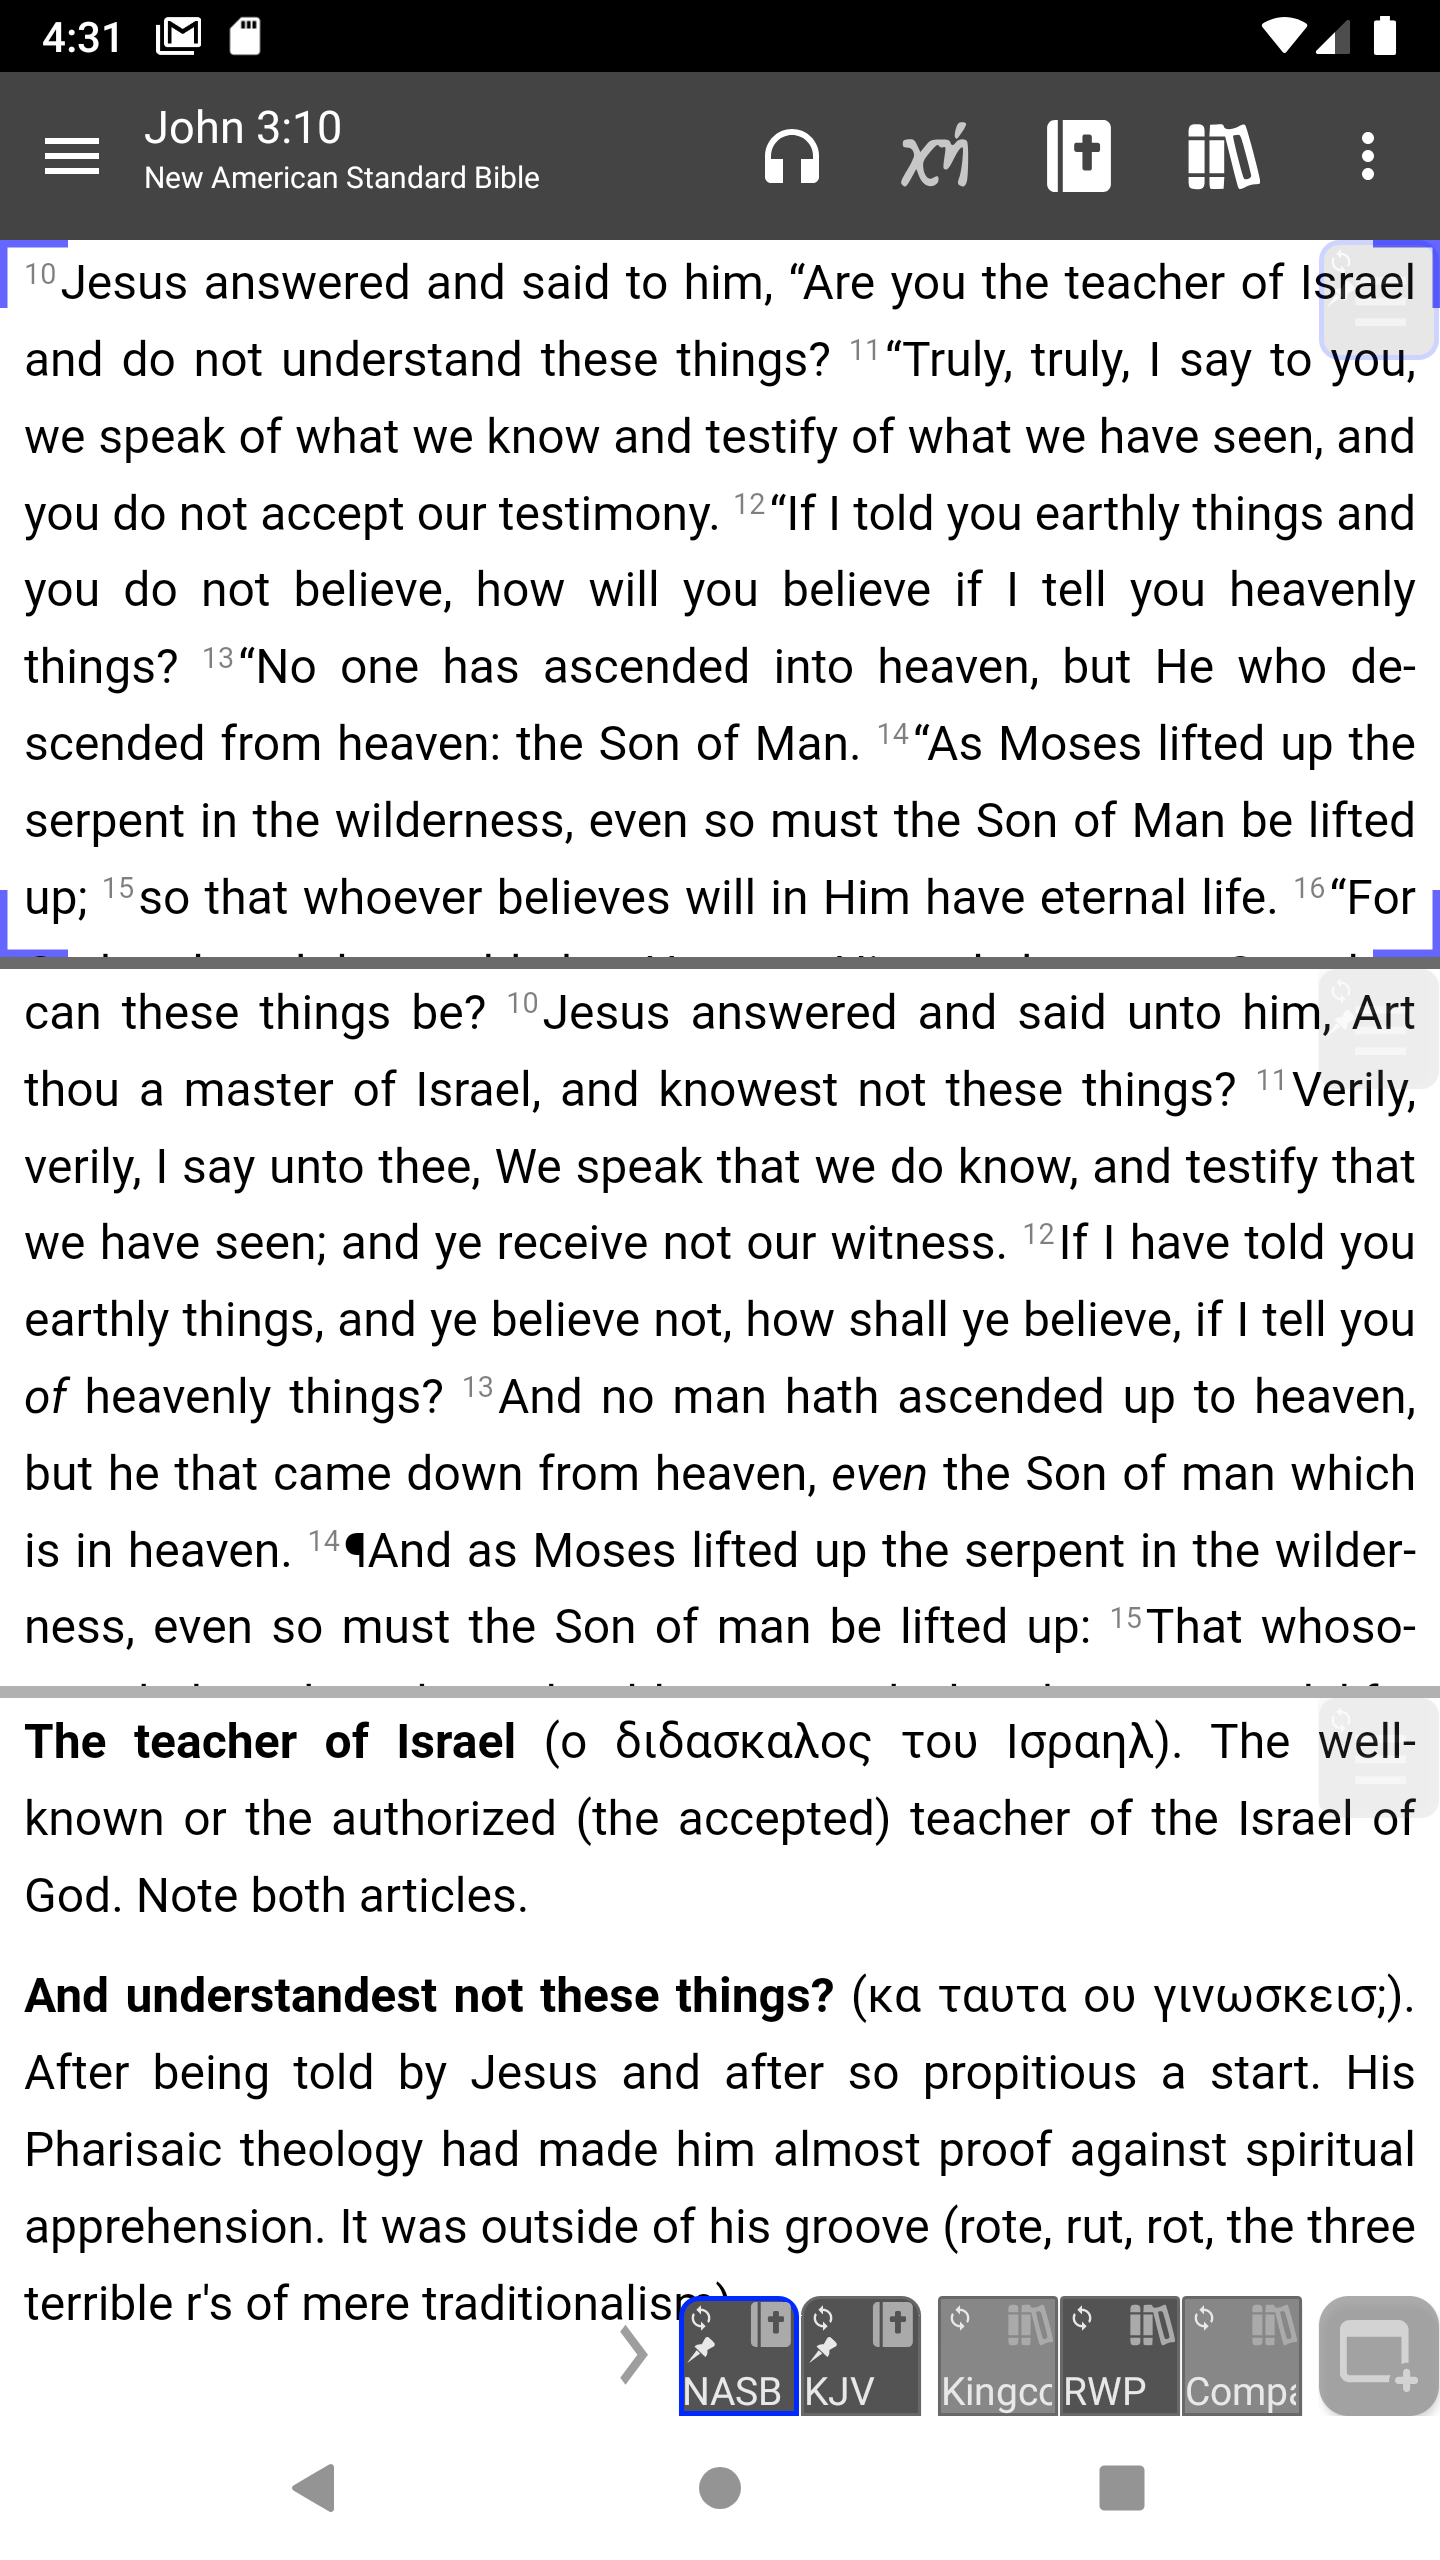
In this illustration there are two pinned windows and an unpinned window with three associated documents.
You can show or minimize either of the first two, or both, by tapping on the icon. In the last three, you can only display one of these at a time by tapping on its icon. If you want to get rid of a document associated with a window, simply select the window icon and tap Close.
Note: Cross references are displayed in special windows, and their menu does not have a pin option, though you can change it to a normal window. When you do, it will join either the pinned windows group or the unpinned windows.
Extra
If you want to duplicate the image above for practice, follow these steps
Create a new workspace
- Three dot
- Workspace
- (+)
Add a pinned window
- New Window
- Select version
Add unpinned windows
- New Window
- Select commentary
- Un check pin
- While unpinned window is selected, New Window
- Select commentary
- New Window
- Select commentary
See more about managing windows in my post And Bible Commentary Study
